

I originally planned to post about these pillows last week, but holy moly they took me sooo much longer than I had intended! If you read about my living room plan, I had planned to make some pillow covers from a Ralph Lauren table cloth I had picked up at HomeSense. The pillow inserts were these large ones from Ikea. I loved that the tablecloth mimicked watercolour and was the right shade of blue for accenting the cool tones for the living room.
I usually whip up quick pillow covers using an envelope technique, which is super fast and not fancy. However this time I decided (very unwisely) that I wanted piping and zippers on these covers. I had not sewn piping since I was in high school...
Anyway, the fabric store only had a couple colours of pre-made piping and I picked up plain white, but the table cloth was off-white, so I decided that I should recover it with the same fabric as the rest of the pillow. I didn't do it 100% properly, as I didn't know you should cut on a bias, but I ended up with some decent-looking piping when I was done! I think this step took me 2 hours in and of itself.

I thankfully read in advance that you should use a zipper foot for sewing piping, and it was amazing! I remember piping being really tricky in high school, but the actual sewing with piping on this project was easy! Yay zipper feet (foots?)! Here is a shot of the zipper foot in action.

This post is 100% not a tutorial, because I really had no idea what I am doing. But I did make this piping, then somehow sew it into a pillow and somehow sew a zipper on the pillow. Two pillows took me pretty much all week :\. I will say I learned on my second pillow that it is easier to sew all the piping to one side, and then attach the other side of the pillow, rather than trying to wrangle loose piping between two pieces of fabric.
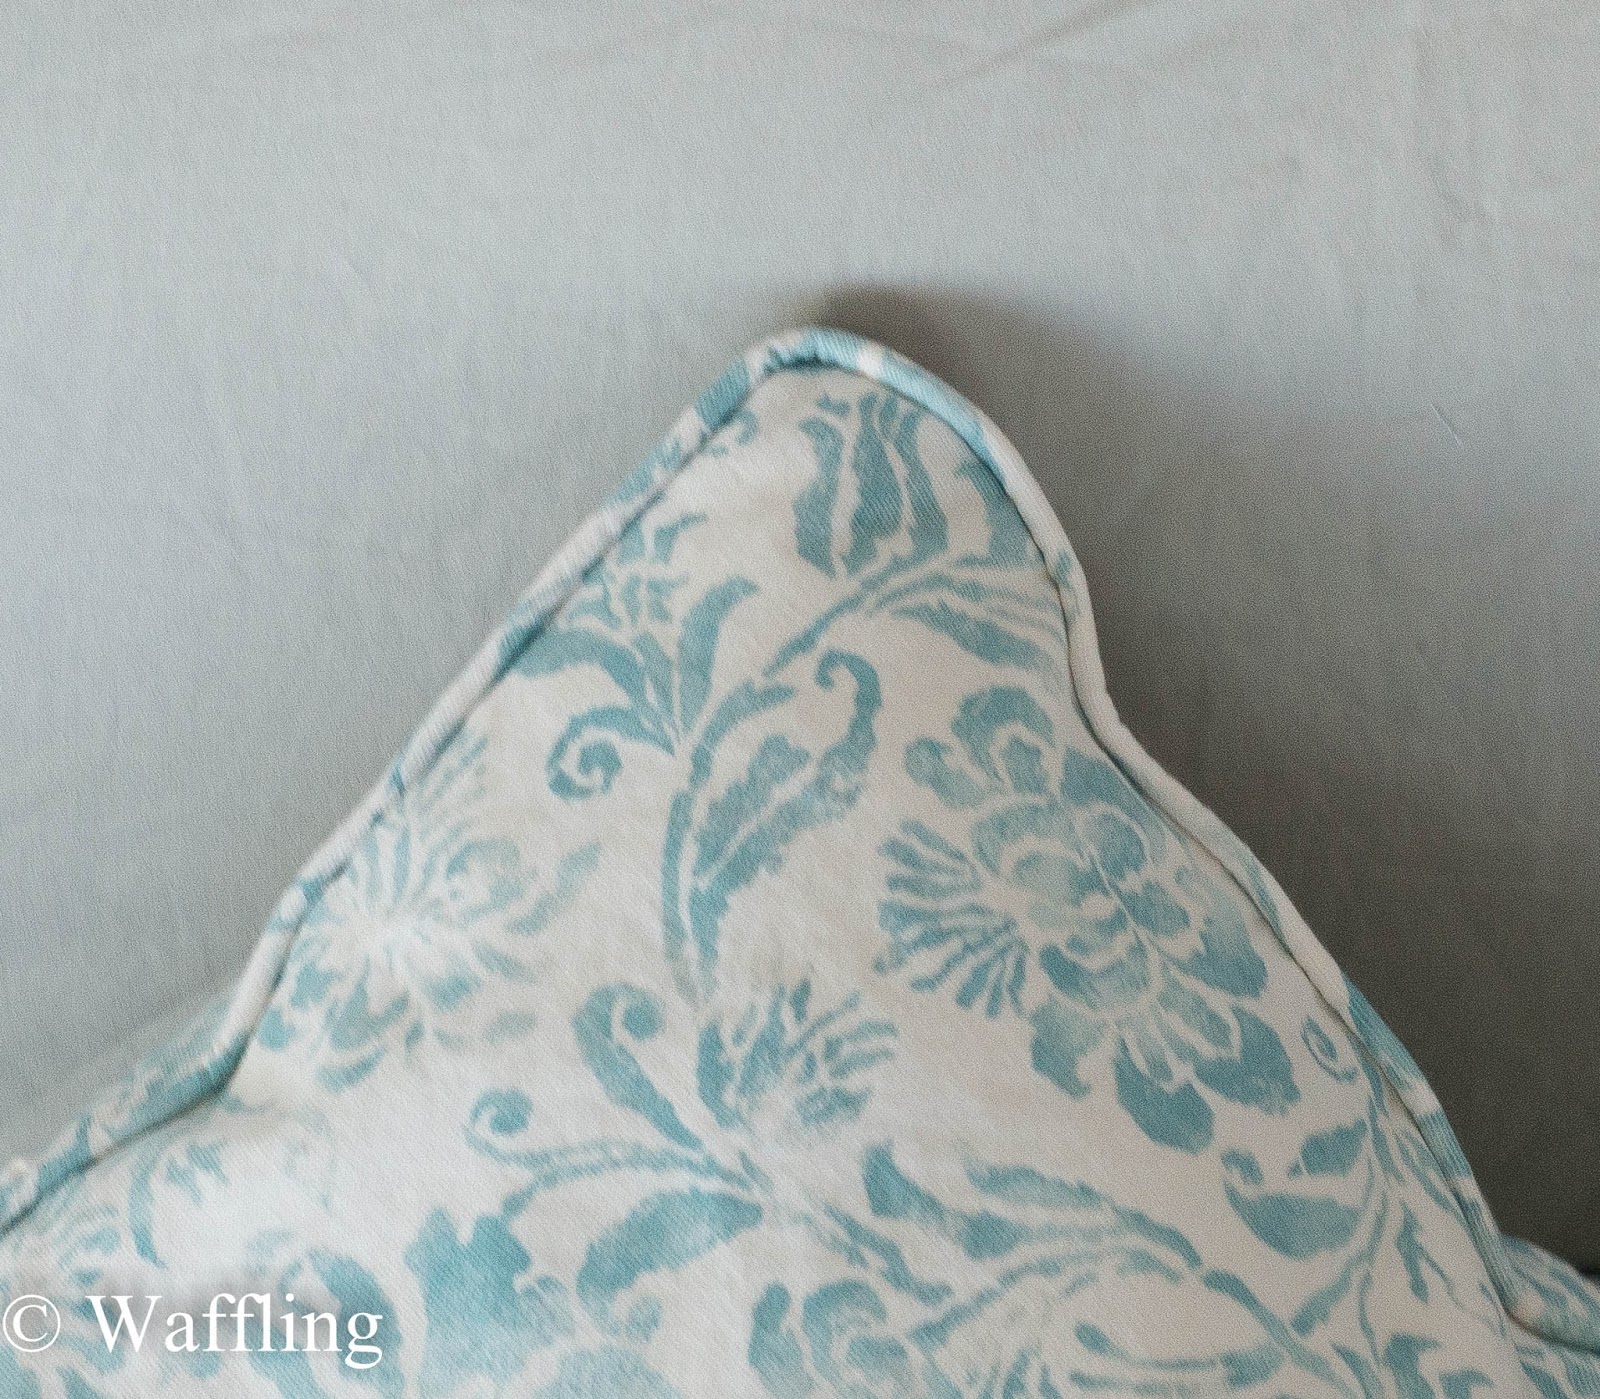 |
| Look at that piping! |
I also want to show off my zipper. I had no idea what I was doing, and it certainly isn't a neat job up close, but I love that it is hidden by the piping! It actually takes me a few seconds to find it!

I am super proud of how they turned out and I can't wait for my new couch to come (hopefully in the next couple weeks!) to put them on as they SUPER clash with my existing couch. I covered it with a sheet to save your eyes.


I also might eventually get some more stuffing for them, as my covers ended up an inch or so too large. The Ikea inserts are a little thin on the thin side for my liking as well, though these pillows are super comfortable for napping with.
After this project, I can definitely see why people pay for professionally-made pillow cases! However, I think I learned a lot by making these and hopefully it will be much easier next time.
Total Cost:
Tablecloth: $20
Pillow inserts: $14
Piping and Zippers: $16
Total Cost: $50 for two giant pillows! Not so bad!

You, my friend, are super impressive. Those look great!
ReplyDeleteGreat pillows! Have you considered trying to stuff two pillow forms into one pillow cover? That might fill them out better.
ReplyDeleteI did! it makes one really big pillow!! haha
DeleteWow - you are SUPER talented! Must have inherited THAT from your mom and Auntie Helen because I have NO such genes! I'm a "see it, buy it" (when on sale) person! Have to be! Waiting for your couch now! Yay! xo (Auntie) Sheila
ReplyDeleteI used the feather inserts from Ikea for my bedroom pillows - they're quite a bit thicker - maybe check them out? If I remember correctly they were $10 each, so basically cheap :) I got the 20" ones
ReplyDeleteYa these were the 26". I think there is a thicker option that is a few dollar more. These are actually pretty comfy pillows though so I might just wait and see
Delete